
Resources / Study planning

A clear question.
Meaningful evidence.

Practical guides for defining the evidence your device or biomaterial needs. From the first study brief to the measurements that support your next decision.

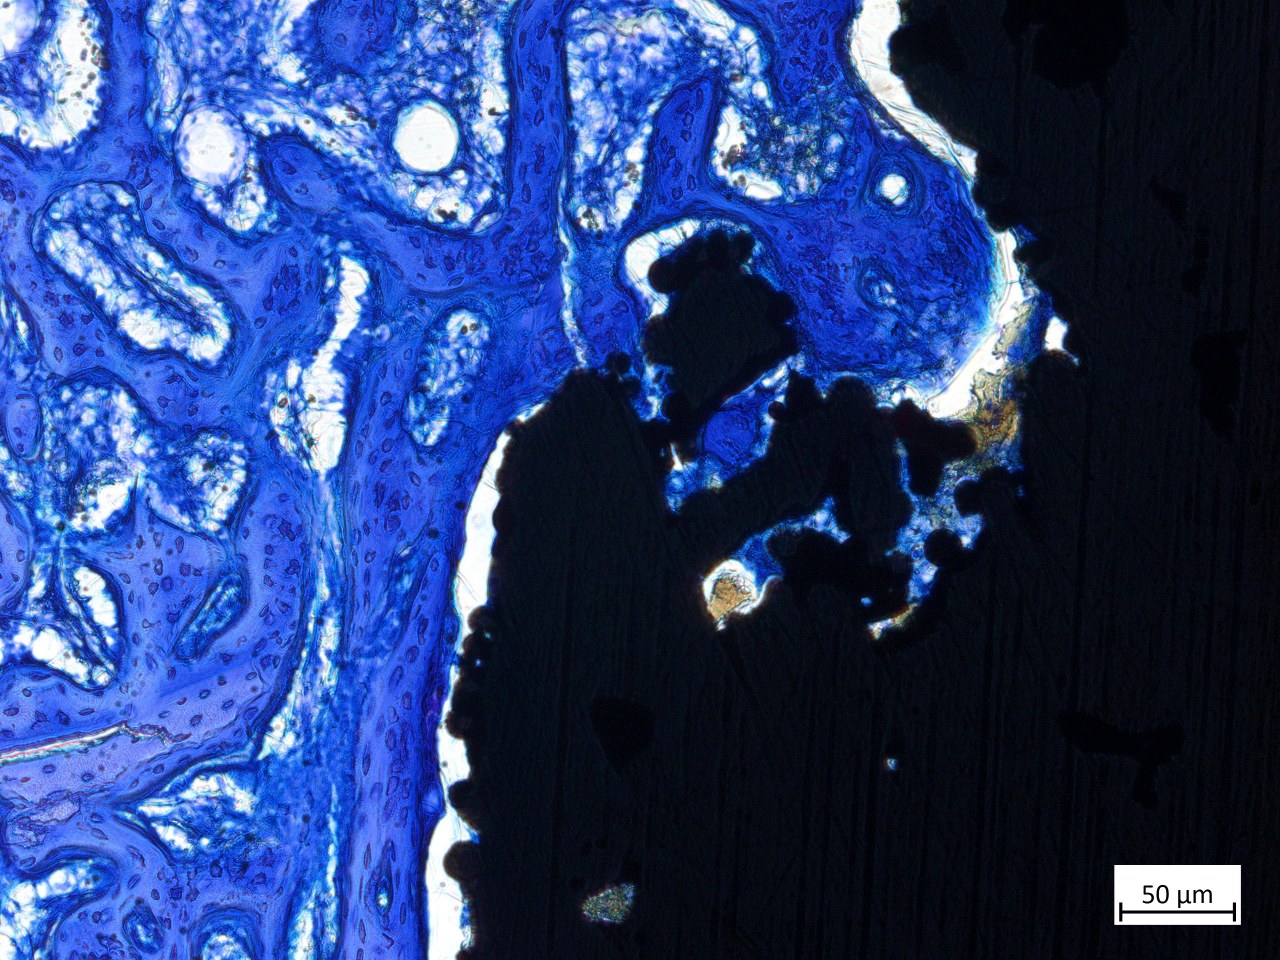
Toluidine-blue histology showing an undecalcified bone and titanium interface, with the original scale bar.
Preparation. Measurement. Interpretation.Representative histology · BerlinAnalytix archive

Biological evaluation

Define the evidence your device needs.

Connect the intended use of your device to the tissue response, performance and safety questions the study must address.

Read the planning notes

Biological evaluation starts with the device, its materials, tissue contact and the evidence already available. Implantation histology addresses local tissue response; the required investigation follows the biological evaluation plan and the intended submission pathway.

Agree which question is about safety, which is about function, and which needs a comparison. The protocol then defines the model, endpoints, controls and documentation needed to answer it.

Define before starting

Device context
Intended use, contact tissue, contact duration, material composition and manufacturing changes.
Existing evidence
Prior studies, material characterisation and the specific question that remains unresolved.
Study requirement
The endpoint, comparator and quality framework agreed for the investigation.

Further reading: FDA guidance: biological evaluation

GLP regulatory studies

Quantitative histology

Choose endpoints that support a decision.

Turn the study question into defined measurements: where tissue forms, how much material remains, or how the implant interface changes.

Read the planning notes

Define the primary outcome before choosing a panel of measurements. In bone studies, relevant endpoints may include new bone area, residual material area or bone–implant contact. Each needs a defined region of interest, unit and sampling rule.

Multiple sections from one specimen provide sampling information; they do not automatically represent independent biological replicates. Define the experimental unit and the analysis plan before data collection.

Define before starting

Measurement
A named endpoint with its unit, denominator and anatomical region.
Sampling
Which specimens and sections are evaluated, with inclusion and exclusion criteria.
Interpretation
The comparison, uncertainty and effect size that matter to the product decision.

Further reading: NC3Rs: experimental design

Research studies

Preclinical study design

Match study scale to the question.

Focused prototype investigations and larger comparative studies answer different questions. Scope the study around the next development decision.

Read the planning notes

Proof-of-concept and feasibility studies focus on early function, tissue response and selected device comparisons. Research studies extend the evidence across more timepoints, groups or comparisons. Animal numbers follow the endpoint, expected variation and design; they are not fixed by a service label.

A single group can characterise an observed response. Claims about differences between devices need an appropriate comparison. Plan randomisation, blinded assessment and the statistical approach alongside the implantation schedule.

Define before starting

Development decision
Prototype selection, feasibility or a defined comparative performance question.
Comparison
The relevant reference or predicate device and the rationale for each group.
Timepoints
Sampling aligned with the biological processes and the intended decision date.

Further reading: NC3Rs: experimental design

PoC & feasibility studies

Processing & material evaluation

Preserve the structures you need to measure.

For mineralised bone, titanium and ceramic implants, preparation must preserve the architecture and interfaces the investigation depends on.

Read the planning notes

Undecalcified processing retains mineralised structures for their histological assessment. Resin embedding and sectioning are selected to suit the specimen and endpoint. Paraffin processing is used for suitable soft-tissue investigations; the route is agreed before fixation and sample preparation.

A bone-substitute study can quantify new bone, remaining material and their spatial relationship within a defined region. Measurements across selected timepoints characterise the observed tissue and material changes; the interpretation follows the model and sampling design.

Define before starting

Specimen
Material composition, implant geometry, surrounding tissue and orientation.
Preservation
The mineral, cortex or interface that must remain available for evaluation.
Analysis
The tissue and material compartments to distinguish, measure and compare.

Further reading: Goldschlager et al.: undecalcified bone preparation

Inside our laboratory

Tissue response & staining

Investigate the response in context.

Localise the cells, tissue organisation and material interfaces that explain the observed response. Select stains for the study question.

Read the planning notes

Morphological assessment establishes what is present and where. Targeted staining can then investigate selected cell populations or tissue components. The panel, controls and interpretation are defined for the species, tissue, processing route and timepoints.

A single macrophage marker does not establish a complete functional state. Interpret marker patterns alongside morphology and the study context. Changes across timepoints can characterise the response without turning a marker association into proof of mechanism.

Define before starting

Biological question
Inflammation, fibrosis, tissue regeneration or a defined cellular response.
Staining strategy
Targets and controls appropriate to the specimen and processing method.
Context
Where the signal occurs, what the surrounding tissue shows and how it changes over time.

Further reading: Murray et al.: macrophage activation guidelines

Explore our investigations

Research collaboration

Build a clear research work package.

Define the scientific question, deliverables and responsibilities before setting the budget or submitting a collaborative research proposal.

Read the planning notes

A useful brief connects the development objective to the specimen pathway, endpoints and reporting plan. Identify which work is performed by your team, BerlinAnalytix and other study partners, and when the resulting evidence is needed.

For a funded project, align the work package with the current call, eligibility rules and permitted costs. Agree milestones and dependencies before estimating the schedule. Funding conditions belong to the individual programme; they are not a standard property of a histology study.

Define before starting

Scientific scope
The hypothesis, study groups, endpoints and planned analysis.
Responsibilities
Implantation, specimen transfer, processing, evaluation and reporting.
Deliverables
Defined datasets, images and reports, with decision milestones and dependencies.

Further reading: ARRIVE 2.0: planning for transparent reporting

Research partnerships

From brief to study

Your next question.
Our scientific team.

Bring your device, development stage and the decision the evidence needs to support. We’ll scope the investigation with you.

Discuss your study